Mac安装XAMPP
- 发表于
- WordPress
在WIN下可以简单的装个Apache+php+mysql,但在MAC下如果不借助第三方软件感觉还是有些繁琐了,之前一直用的brew装的APACHE+PHP+MYSQL,用起来总要输几次命令,开发变得不那么敏捷了,今天换成了XAMPP,下面记录一些安装日志:
XAMPP for MAC下载及安装
XAMPP中文官网,进去后下载对应的XAMPP for OS X,DMG后缀的,下完直接双击安装XAMPP.dmg(默认配置即可)。
服务开启与配置
装完后应用栏里出现一个manager-osx,打开它
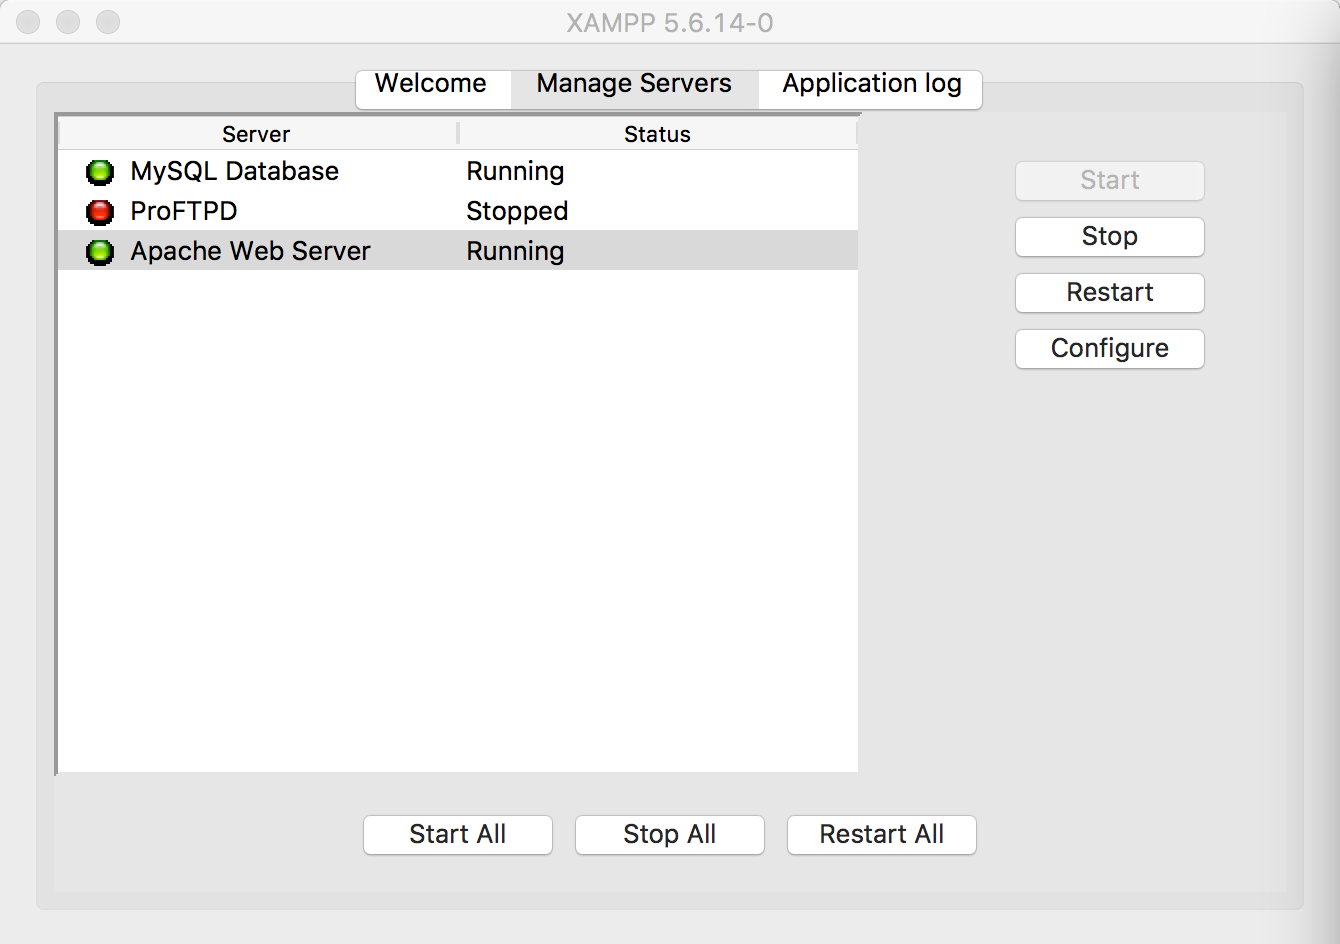
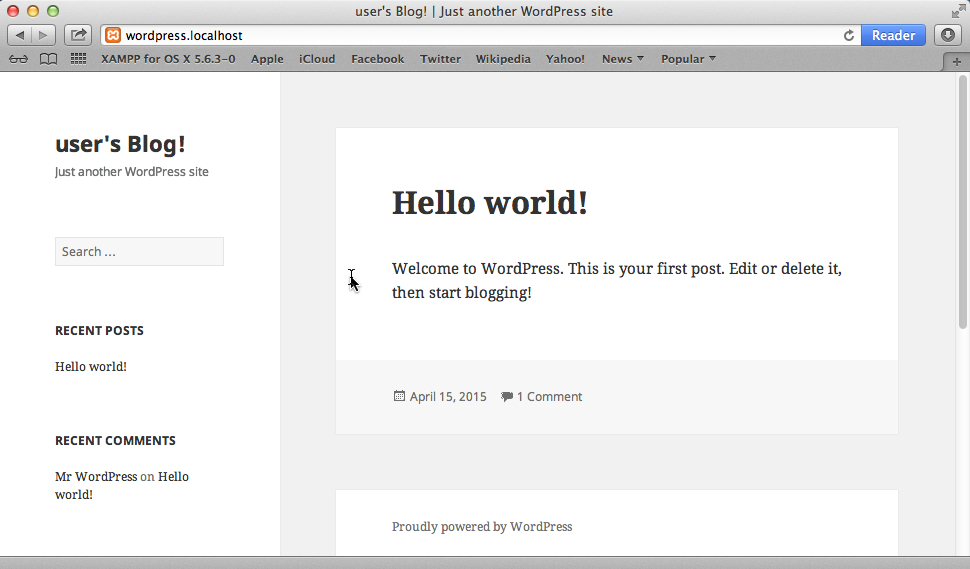
如上图,开启MYSQL和APACHE后打开:http://localhost/ 即可看到界面:
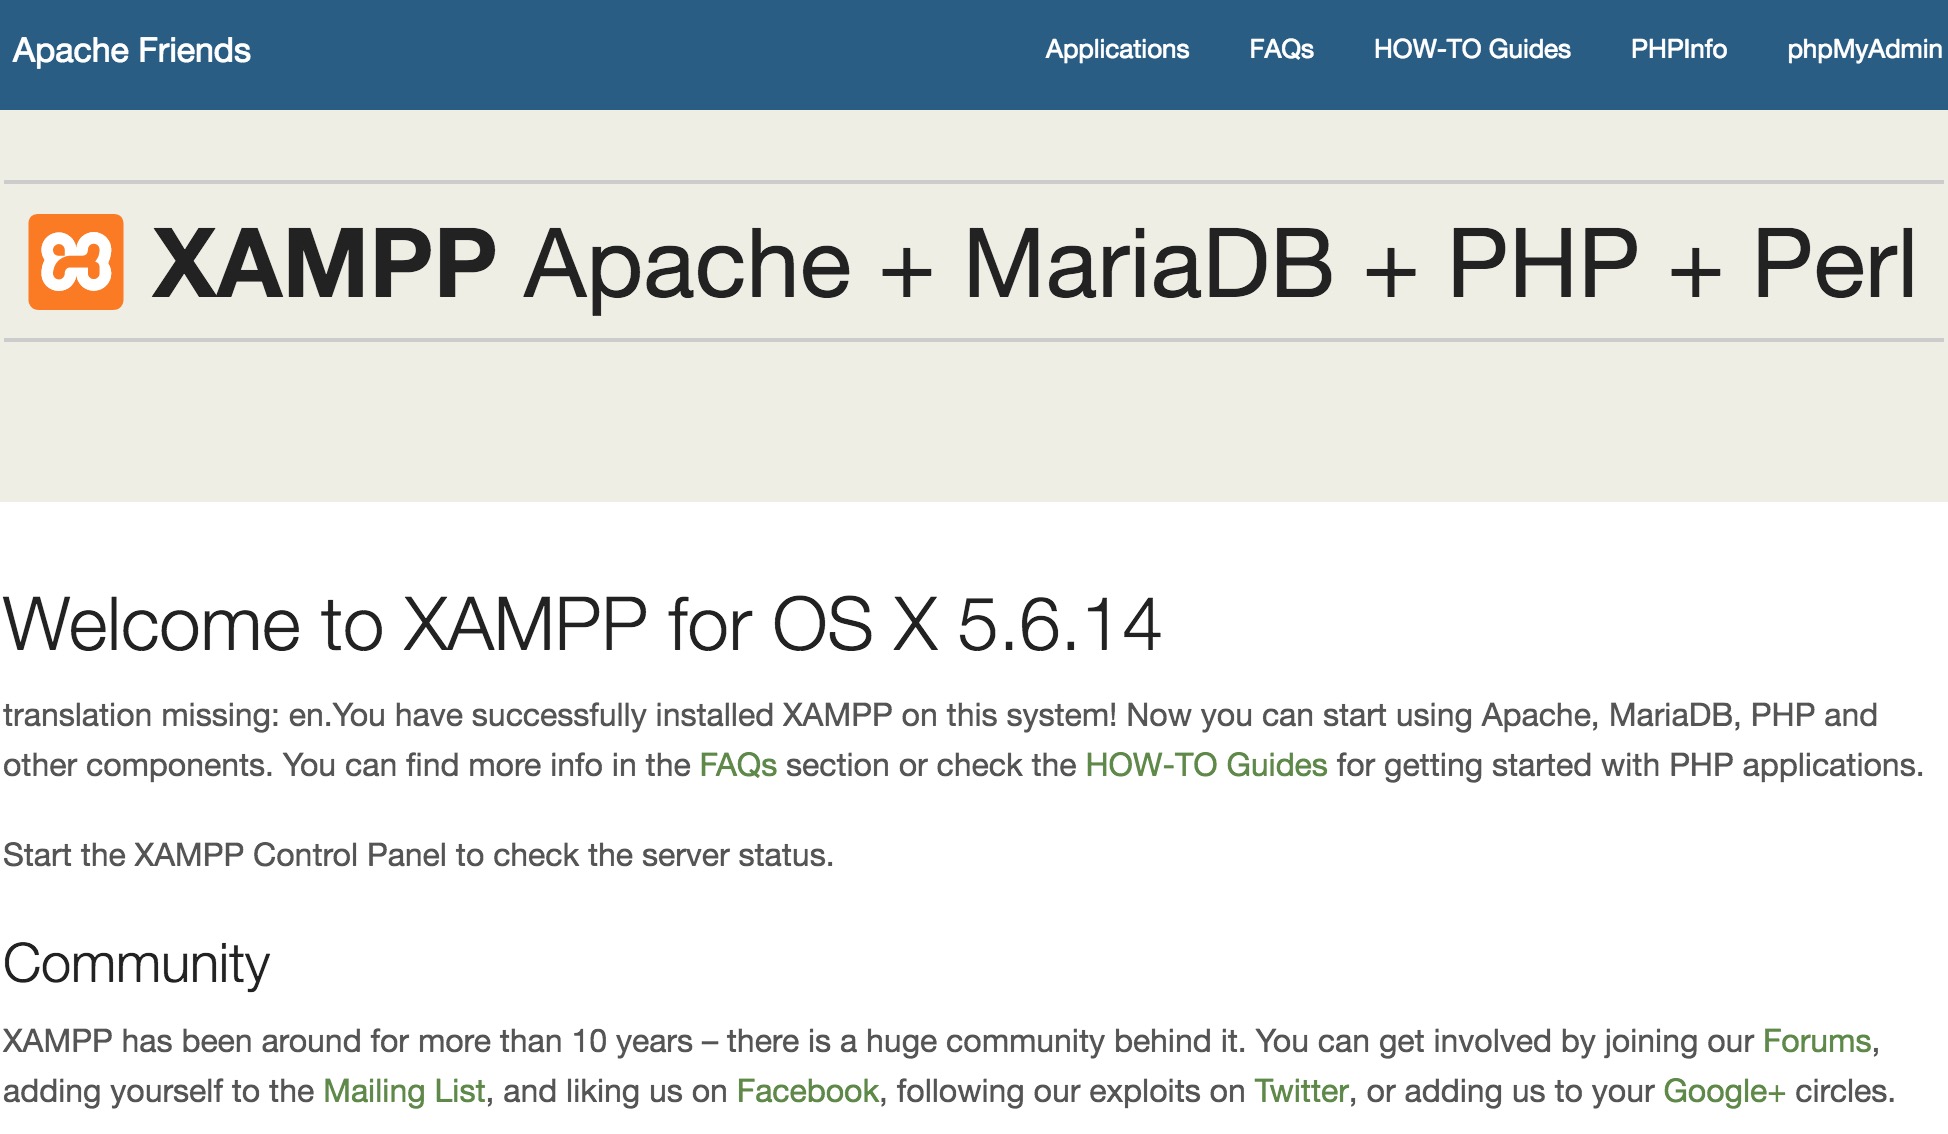
好了,PHP+MYSQL+APACHE就这么简单的装好了。
在这我另外分享一点MAC的端口转发,即把8080转发至80,资料:MAC端口转发
根据上面给的GIT连接设好后,临时转发:sudo pfctl -evf /etc/pf.anchors/com.pow,开机运行sudo pfctl -e,停止转发sudo pfctl -d,MAC端口转发是开发必备的操作,我个人是必须的。
配置虚拟主机
这一部分XAMPP做的还是非常好的,配置文档里都有说明,而且我按着它的说明操作没遇到任何问题,我直贴了:
Follow the steps below to create a virtual host:
Open a new terminal and ensure you are logged in as an administrator.
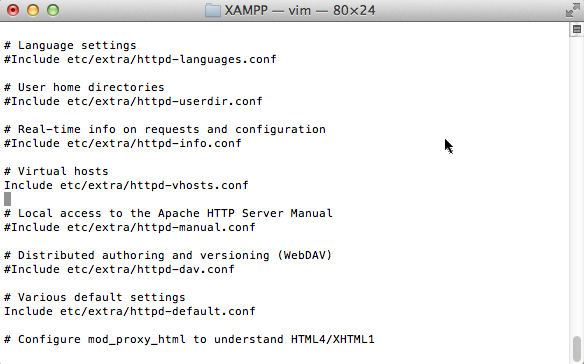
Change to your XAMPP installation directory (typically, /Applications/XAMPP) and open the httpd.conf file in the etc/ subdirectory using a text editor.
Within the file, find the following line and uncomment it by removing the hash symbol (#) at the beginning of the line.
|
1 2 3 |
Include etc/extra/httpd-vhosts.conf |
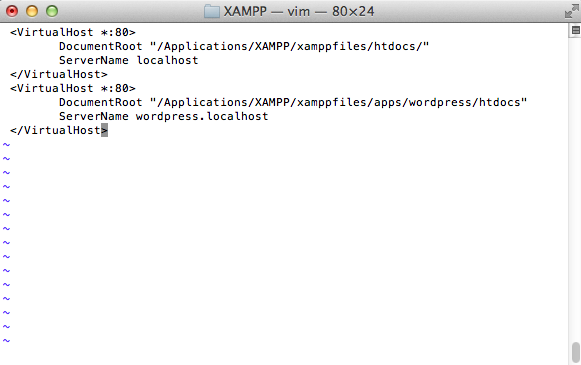
Next, open the httpd-vhosts.conf file in the etc/extra/ subdirectory of your XAMPP installation directory. Replace the contents of this file with the following directives:
|
1 2 3 4 5 6 7 8 9 10 |
<VirtualHost *:80> DocumentRoot "/Applications/XAMPP/xamppfiles/htdocs/" ServerName localhost </VirtualHost> <VirtualHost *:80> DocumentRoot "/Applications/XAMPP/xamppfiles/apps/wordpress/htdocs" ServerName wordpress.localhost </VirtualHost> |
At this point, your virtual host is configured. However, if you try browsing to the wordpress.localhost domain, your browser will show a failure notice, since this domain does not exist in reality. To resolve this, it is necessary to map the custom domain to the local IP address. To do this, open the /etc/hosts file and add the following line to it:
|
1 2 3 |
127.0.0.1 wordpress.localhost |
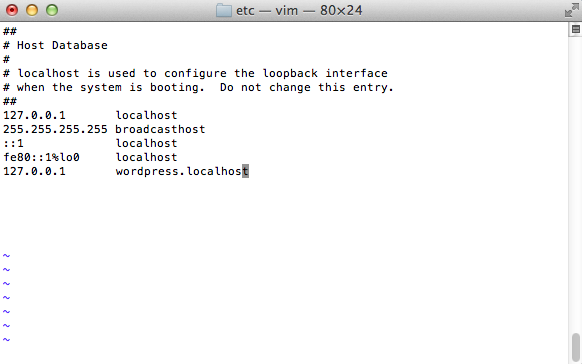
This takes care of mapping the wordpress.localhost domain name to the local machine, which always has the IP address 127.0.0.1.
OK,到此,全部配置完成!
原文连接的情况下转载,若非则不得使用我方内容。